Creating a custom display case requires a ton of patience, measuring and re-measuring, operating and maintaining power equipment and a ton of desire to produce a product that not only the customer will be pleased with but you as well need to be totally pleased. Every case I build must have the quality that I personally would be proud to display in my own home. After all, when someone has something to display that has very special meaning to them, or a model builder has spent hundreds of hours building that one of a kind model, it must be protected and displayed with the same attention to detail and quality that went into their memorabilia.
To detail just how I go about building a custom display case, I’ll start with some steps I take to get all my ducks in a row. The first thing is to take a moment to determine the overall size of the acrylic sheet I’ll need for an individual case. Because I heat bend the acrylic to form a three sided box with no ends, I must allow some acrylic to allow for the bend and still maintain the dimension the customer wants their case to be. Once I’ve determined the size I need, I use a very special saw blade just for cutting acrylic and I cut the material allowing a little extra. This is to allow me to run all edges over my jointer to get the smoothest edges possible to reduce the bubbling effect that appears whenever you weld acrylic.
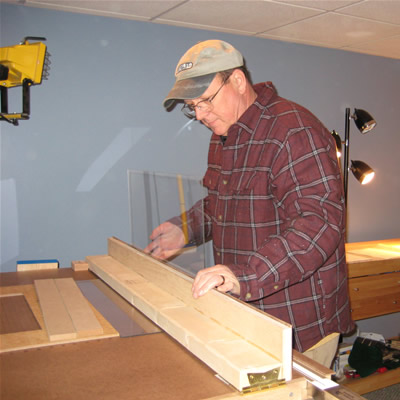
Ron now works with the optical quality acrylic on the bending jig, creating the cover to fit the oak base.
Now that I have the acrylic cut to size, I take it back to the table saw where I score (cut a very shallow line) the acrylic where I want it to bend when heated to the right temperature. I’ve designed and built my own bending jig which allows me to get perfect 90 degree corners for a more precise finish on all my cases. Now that the acrylic is scored, I place it over the heat rod for a period of time, and never too much or too little as that makes a perfect bend not possible or the acrylic burned or warped if too long. When it’s just right, I form the right angle edge and let it cool.
Next, after the two bends have been made, I cut the end pieces of acrylic and weld them onto the ends of the three sided box to form a box with one open side that will become the bottom that sits on the solid hardwood base. This is allowed to dry for at least two days for a solid weld.
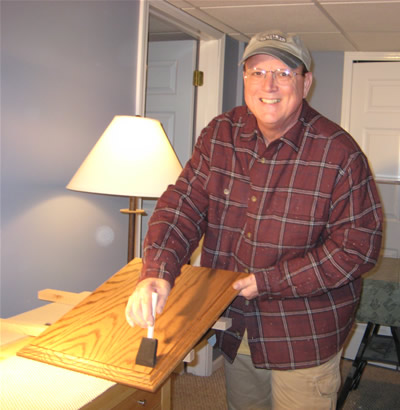
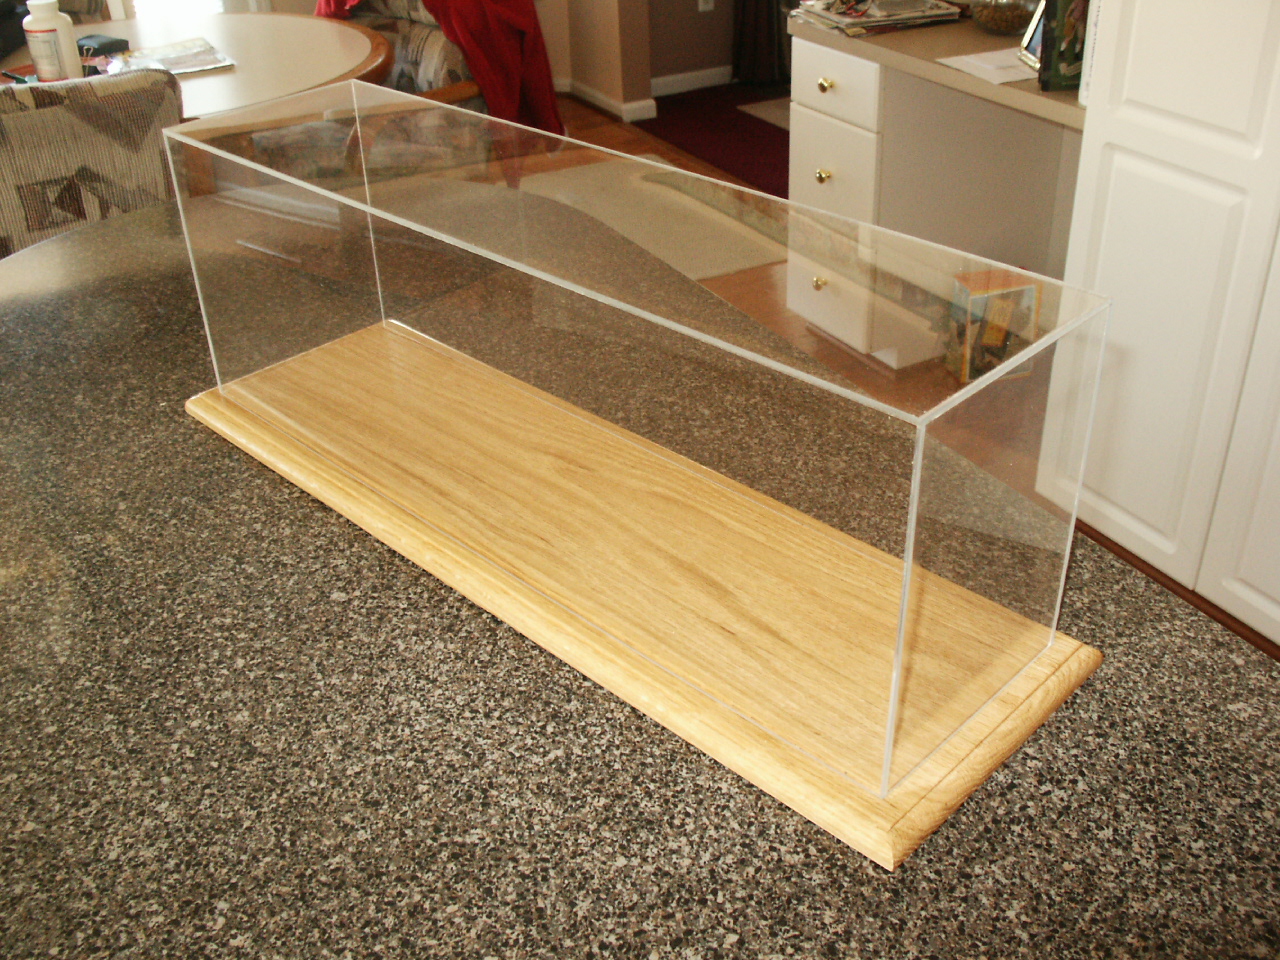
The oak base has been routed and sanded to desired finish quality, and a final coat of polyurethane clear coat is applied.
I then go to the base. I choose the best, flattest and straightest piece of wood with a grain pattern that is pleasing to the eye and cut it to a rough size. After I’ve jointed and planed the wood, I cut it to it’s final size based on the opening of the acrylic cover. It is often the case when I have to glue up multiple pieces of wood to create a base wide enough to accommodate the acrylic cover which I can do easily. Actually, with wide bases, the more pieces used to create the wide enough base, the better as that prevents warping, bending and twisting later in it’s life.
I then run the outer edges through my router to create the beautiful edges with soft curves and a raised platform for the acrylic to sit over to prevent it from moving around on the shelf when displayed. Lastly, this is sanded and smoothed for finishing. I stain every base to the color the customer desires, and I apply at least 2 topcoats of satin polyurethane to the finished base for a finish that’s soft to the eye and provides great protection.
To finish a custom display case, the last step is to run the acrylic cover through the router to round over the edges 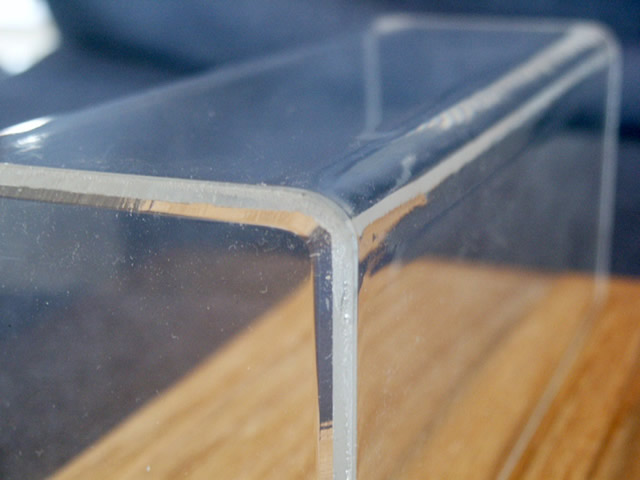 where the two ends were welded on so ALL edges have a rounded over finish so there appears that the acrylic was formed rather than constructed. It’s one extra step that I feel gives a much more professional look to the finished case. The very last thing is to flame polish the routed edges so all surfaces are smooth and glossy.
 So, you can see, building a custom display case is a work of art in itself, and I personally take it very seriously. Every case leaving here is created by me personally. I’m a one man company who believes every customer deserves the best possible work and it’s my job to guarantee they will get just that. If I wouldn’t place it in my home, I would never send it out to your home, period. Please contact me with any questions about my work, service and quality anytime at ron@grandpascabinets.com. I’d love to hear from you and work for you in the very near future.
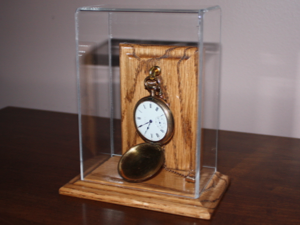
An antique pocket watch needed special care and protection. The customer was very pleased with the result.